
Hey! So ever since I started making these, it's been a real question; how do I make my banners? And how could I teach you to do it. So for this thread, that's the focus. I am going to show you how things work, and maybe give you some tips or tricks in how to do it. It's a fairly easy process, but it does take time and practice to get the effect you want. That's why I remake the banners time and time again. So, let's begin! :)
First of all, before we get into anything. We need to establish the program we're doing this in, and a couple of small tools. If you're wondering what I use, it's a program called paint.net. It's no photoshop, but it works just fine and there's no difference in the quality of the outcome. Wonder how you can get it? Boom , there you go. Also before we begin, there's a couple plugins that I use.
- dpy's Plugin Pack
- KrisVDM's Plugin Pack
- BoltBait's Plugin Pack
- An official plugin installation tutorial.
Another thing to note; paint.net does not come with a large variety of fonts, at least fonts that are useful. For fonts, I like to scroll through dafont , particularly the eroded, distorted, destroy, and horror categories but you do you.
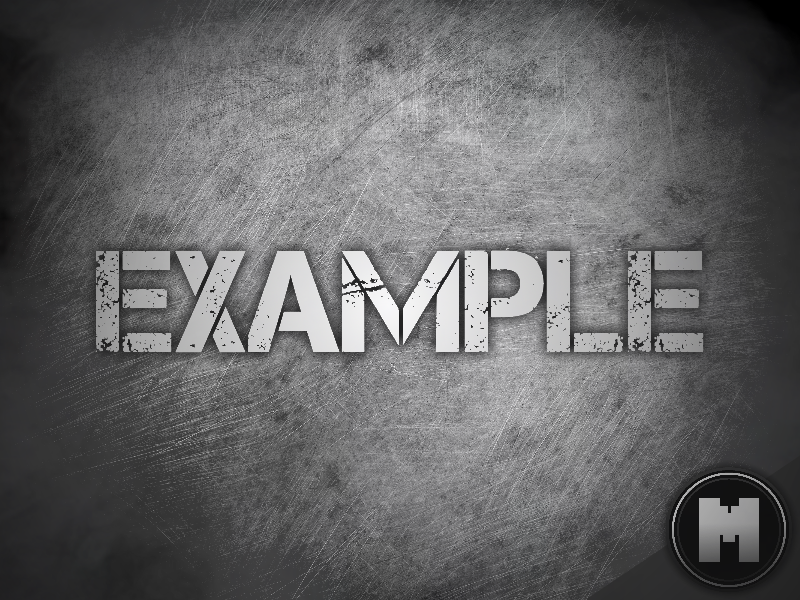
So finally, we can get into the editor. You should load up with a 800 x 600 pixel white canvas. Speaking of the ratio, this is where you choose the size of your banner. I recommend going 800 x 600 pixels, but 1280 x 720 and 512 x 512 should work just fine.
So you may be wondering, how do I make a background? Easy, I go into Google and try to find a background that best suits the theme that my project is focused on. For most of my project banners and logos, I look for a background that's often scratched or scuffed hardly. If you find something you like while scrolling, click on the image (that'll maximize it), right click the maximized image, and click copy. Then go back into your editor, and press Ctrl + V. Depending on the size of the image you copied, you may have a popup that says "The image being pasted is larger than the canvas size. What do you want to do?" If you get that, just press "Keep Canvas Size."
Also, if you like the image you chose but see discoloration such as rusting that you don't like, you can easily get rid of it by going to Adjustments and choosing the black and white filter. If you want to add color later on, go into Sepia (also in Adjustments) and then go into Hue / Saturation (still Adjustments), and play with the Hue and Saturation bars until you get a result that you like. Hue changes the color, saturation effects how bold the color is. Once finished, the design of the banner is completely up to you.
Now that you have your background 80% finished, check over to the right side of your screen and create a new layer by pressing the small square with the green cross. This is where your font comes in. Go to the left side of your screen and select text (the capital T icon) in the tools selection. The tool will show you a selection of options above. This is where you can find your fonts, vary the size, etc. For an 800 x 600 size, I recommend going for 8-108 in font size. After your done, you can select another tool to exit out of typing. If you can't stand having offput of the text not being in the center, go into Effects, Object Align, and hit Center Both. That should arrange the text to go into the center of the canvas. Now the choice is up to you to modify the text as you want. I recommend adding a drop shadow to the font by going into Effects, then Object, and then Drop Shadow.
Now you have both your text and background, COOL! Now how do I merge them together into one layer? Go back to the right bottom corner of your screen and look for a icon that has 2 rectangles and a purple arrow facing down. Click that, and the layers should merge. Now, for the final effects. You can do anything you want. But I simply choose doing a vignette to add atmosphere. You can do this by going into Effects, Photos, and then finding Vignette at the bottom. If you installed the plugins, I recommend using the Vignette +, it's a lot better than the original in my opinion.
And that's it! You made your first banner! Congrats! :)


